Tuesday, September 30, 2014

My Bermuda Bag Obsession

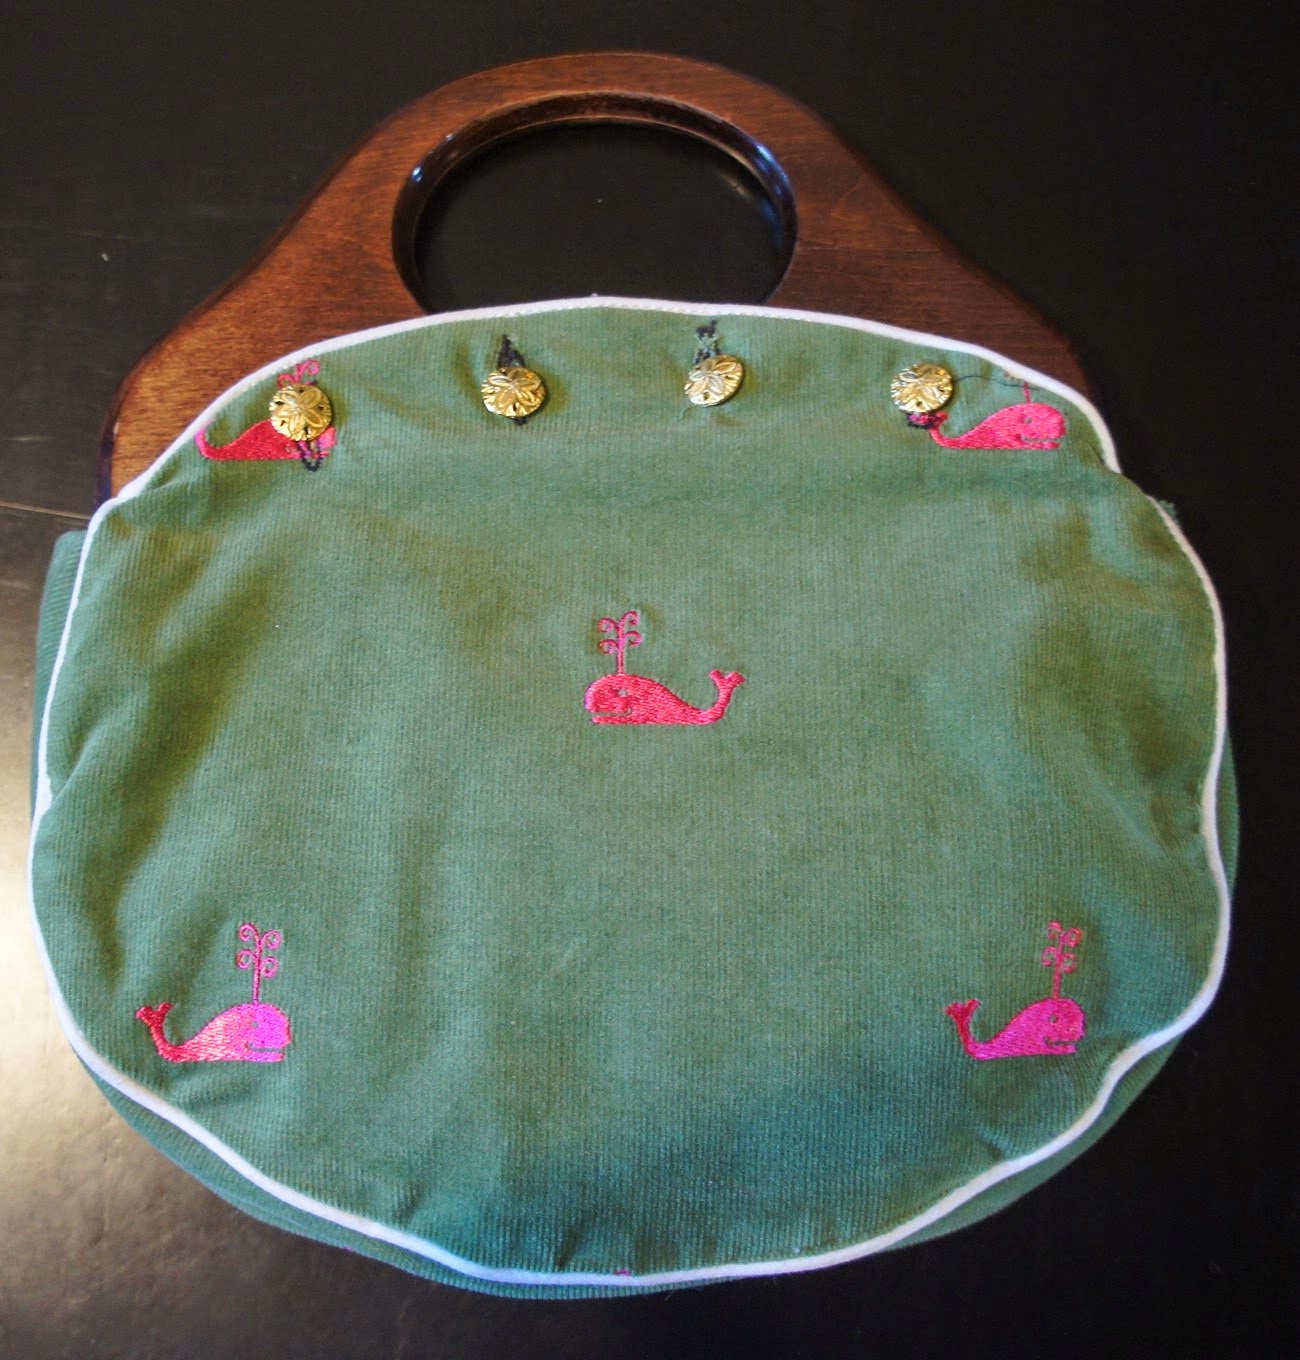
Got this reversible bermuda bag cover made by Joanna at All About You Design. She's fab - so fun to talk to. She's been sewing covers with her mother's pattern since the 70's. Glad to see Bermuda Bags are alive and well - mostly in the south, I guess. Since I never see any around the Chicago area.
The whale fabric is actually a pinwale/baby corduroy. So cute.

So, this is my attempt at a reversible cover with piping. I got the pattern on ebay. It was not really beginner-friendly and I had to figure most of the issues out as I went along. Better than not having the pattern though. Below is the fabric I did on the other side (before button holes). Not perfect, but ok for a first attempt. I think my future ones will not be reversible. So hard to do the piping to look good on both sides!
This fabric didn't photograph well, but it's a buttercup color, it's an Amy Butler. Love.

Saturday, September 20, 2014

Finished my Miniature Needlepoint Petit Point Aubusson Rug! (Janet Patacca kit)

Finally! Finished the French Aubusson Rug Kit by Janet Patacca (#110) for the dollhouse. It was on 24 count canvas using 2 strands of DMC and measures 8 x 10.5". Janet's kits are really well-done. The design is printed on the canvas and there's a nice chart included so there isn't any guesswork.

It took me about a year to finish because, and I"M GOING TO DROP A BOMB HERE, SO LISTEN: I thought I was going blind!! I'm 42 and have had perfect eyesight for many years, so when I wasn't able to see the holes after a few months I figured it was the beginning of the end. I swore my husband to secrecy so my mom wouldn't worry about me going blind and then he accidentally blurted it out one day. So she drags me to the optical place in Costco and next thing you know I CAN SEE! Turns out I just needed some strong crafting/reading glasses. Phew!
I could have blocked it better. I blocked twice, but since it was my first petit point maybe I was pulling strangely on it. Oh well, still thrilled.


 Some notes about the back: Janet Patacca's directions for backing it with fabric just seemed overwhelming to me and I feared it was going to look bulky with another piece of fabric. Since neither the bears nor the dolls in the house were likely to turn the rug over for inspection I decided not to back it with fabric. Instead, I followed Janet Granger's tutorial on how to turn the canvas over and petit point edge it. Very happy with how the edges turned out.


Deciding if I want furniture on top of it or not. 

Piper, Marmalade & Bernadette enjoying the new rug.


Friday, November 22, 2013

Got 2 New Petite Bythes from Hong Kong!

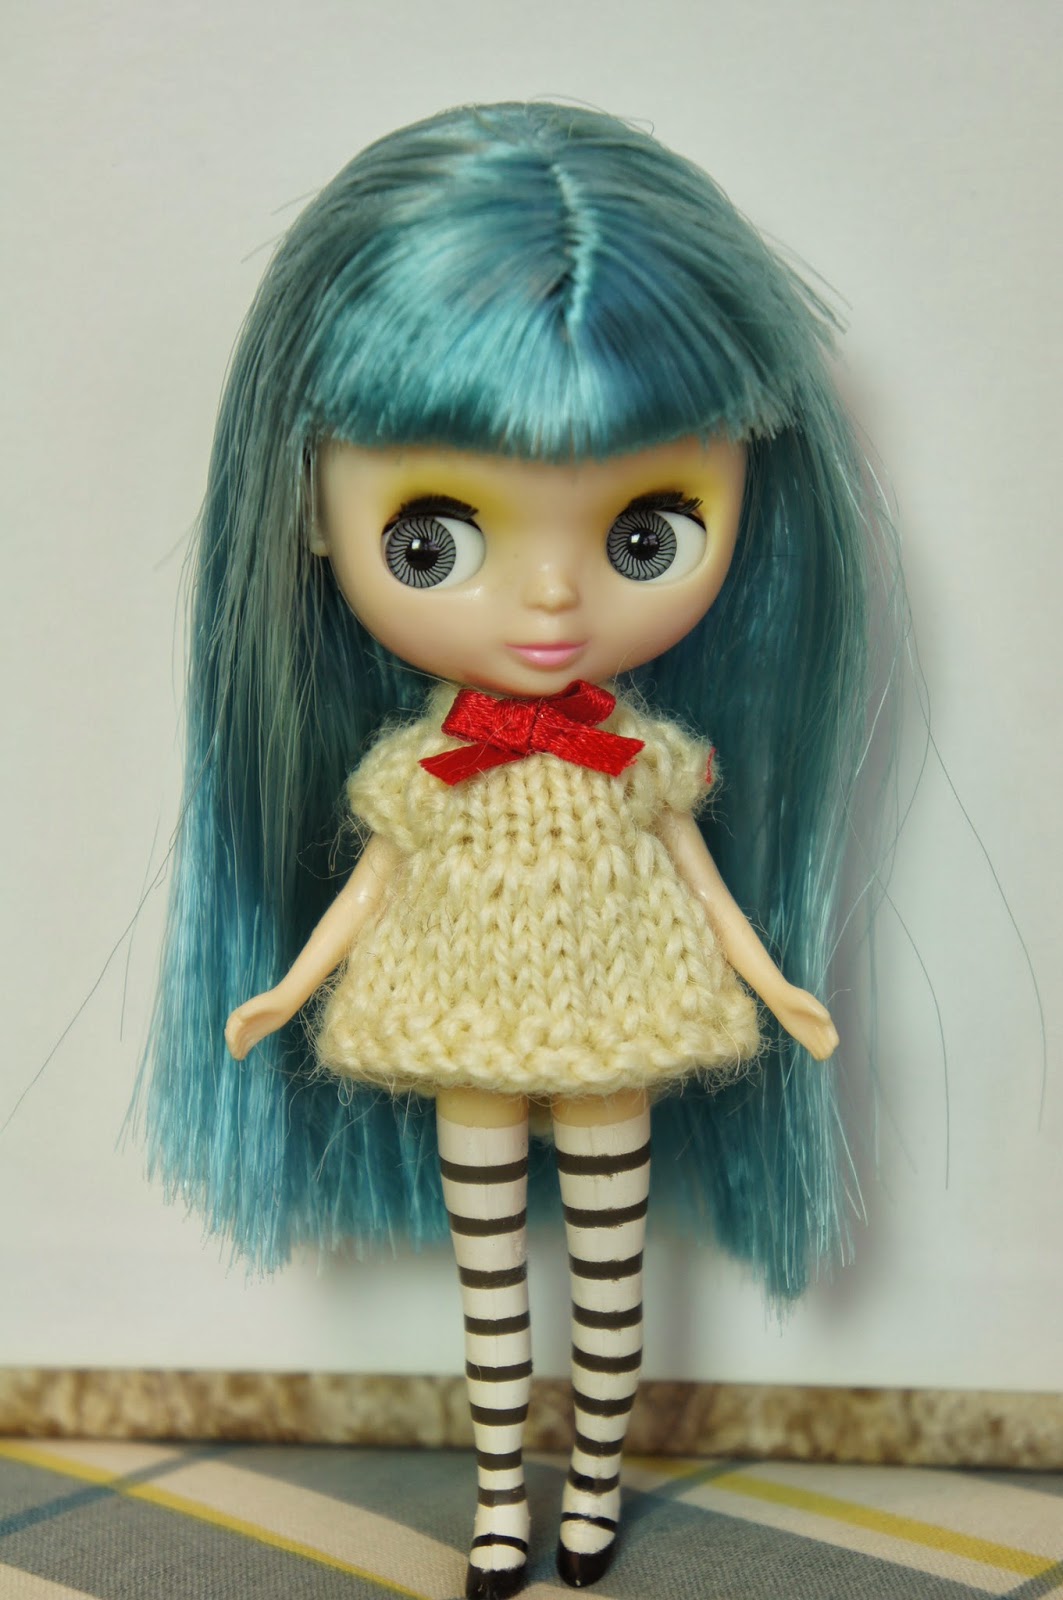
So excited! Petite Blythes are usually so expensive, but I did find an Ebay seller in Hong Kong that is selling "gently used" ones without clothing. Piper has enough cute clothes to share so I decided to get 2. The one above is called Marmalade. She's supposed to have pants on with that top (it's not just a crazy short dress), but I'll post some more with her fully clothed.
 

This one is originally called "Kitchen Queen", but I've decided to name her Bernadette, after the girl on The Big Bang Theory. I believe if she spoke she would sound like Bernadette. More pics to come!

Friday, November 1, 2013

Made a Weighted Pin Cushion using pennies

I desperately needed a heavier pin cushion. I hate when I only have one had to grab a pin and the pin cushion doesn't let go of the pin and then tried to travel with the pin. (Please imagine the beginning of this infommercial with pathetic looking people trying to grab pins and knocking pin cushions onto the floor in frustration). So, I used this little wire basket and after sewing 2 egg shaped circles of fabric together I made a hole in the bottom of the "egg" and filled it with stuffing and then about 50 pennies. Then I used fabric glue to cover the hole with a patch. After setting the egg in the basket I wound metallic thread around it to secure the egg to the basket and stuck an angel doohicky in.Voila!


Tuesday, October 8, 2013

Made the Islander Jacket Express from Craftsy course with Janet Pray

OMG! I learned pretty much everything I know about sewing from this Craftsy class! It's called Sew Better Sew Faster - the Islander Sewing System. Janet Pray is an absolute blessing to the sewing community. Her techniques turn a home sewing project into something much more professional looking and totally wearable!

 I used 97% Cotton, 3% Spandex Baby Corduroy (fine wale corduroy) from JoAnn's. It has a nice amount of stretch, but is easy to work with (except for the topstitching which I will talk about below). I also used these dungarees buttons from JoAnns that you just snap on - no sewing.

Word to the wise: DO NOT use baby corduroy if this is your first time topstitching! Or maybe even your second or third. I tried to topstitch in white - that's the look I really wanted and there was absolutely NO way to do it. As you sew you roll over each corduroy at a diagonal (if it's cut perfectly on the grainline). So, if you're trying to sew a needle width away from the edge (as Janet teaches) you will keep rolling over the cords and off the edge. I tried it for hours and had to rip it all out. Uggh. I love the baby cords, but even with same color topstitching it was very difficult to keep the stitching line where it needs to be.
 I felt like the pocket flaps were too big for the pockets - that's probably just my fault, but I'll be doing smaller flaps on the next one.
Also, I accidentally used interfacing on both collar pieces - oops - the collar is stiffer than I would want - it will work find, but next time I'll just interface the outer piece. I used the Pellon medium weight fusible interfacing from Joann's. It is nice with the baby corduroy.
These welt pockets came out perfect! You must do all the chalk marks like Janet says though and watch her demo everything first. I watched the whole thing one time through before even starting. If I tried to do this jacket from the written pattern it would have been a hot mess.

So, I am a size 10/12 and I made the size XS jacket with no modifications. Once I got to the end I realized the sleeves were too short and I inserted this bit of fabric between the sleeve and the cuff (to do so I had to sew the vents closed - so, no vents, but I don't miss them. I needed the sleeve to be 24" from my shoulder to just past my wrist.

Now, Janet does have one trick called the Burrito. It's meant to do something fabulous to finish the cuff, but even after watching it 3 times and trying to do it I absolutely couldn't figure it out. So, I made the cuff work, but only by my own wits :)
Also, DO NOT think you are going to finish this jacket in less than a week working every night for maybe 3-5 hours (unless you are an experiences seamstress). I know that sounds crazy, but there are tons of pieces, It will take 2 evenings just to cut the pattern, pieces and interfacing. I have a serger - which definitely made it go faster, but still...a solid week! However, if you just relax into the realization early on that this is going to be a long process it will be more fun. Everytime you think you are nearing the end you will still have tons of steps to go! It is really enjoyable thoug, so you have that to look forward to! :)


Wow, curved topstitching lines are tough!!

Anyway, this was my 4th Craftsy class and I'm totally in love. Everything I've learned in these classes is helping me in every facet of my sewing, mending, design, etc. Love Janet Pray! Her tips are amazing and she's also fun to watch. She has a nice, commanding voice, she shows each technique up close and she really knows how to make things turn out great.

Monday, October 7, 2013

Made an adorbs mini skirt for my sister

OMG! This came out great. It's cotton so I thought it may not have the heft for a bottom piece, but with interfacing, pockets, zipper etc. it is perfect! She loves it, so that's great. Will put more pics in later when I can get her back here with the skirt. She ran off with it!!

Thursday, October 3, 2013

Zipper vest for my husband with a high collar

Tim wanted a way to wear his healing magnet without sticking them on to his skin and then having to rip them offf. So, I designed this one. High, stiff collar to hold the magnets at the back of his neck. Tough cotton to hold the weight of the magnets. Spandex panels at the sides for comfort. It's a prototype so changes will  be made as time goes by.


Saturday, August 3, 2013

Ruffle Apron Made with a Serger - Shabby Chic Cotton

 Made a ruffle apron in my Craftsy.com beginner serger class. Love that you don't have to be persnickety when putting this together - just serge away! Did the top with a decorative nylon yarn run through the upper looper. Used cottons from the sale rack at JoAnn's.


Wednesday, July 31, 2013

Zipper Box Bag made with a Serger

Been inspired lately to make some life size projects (non-miniature) - gasp! I'm taking this fab online Beginner Serger class at Craftsy and we just made box bags. The teacher, Amy Alan, is great. Here's mine:


I gave the bag to my mom for her birthday. She happened to be carrying it while shopping and photographed it at Zara:
 

Tuesday, May 21, 2013

Piper Opens a Thrift and Vintage Boutique on Main Street

While strolling down Main Street about a month ago Piper came across a store for rent. It was a tiny little place, but looked like the perfect place for a little thrift boutique.
She came back during the daytime to have another look. It was perfect! So she asked the bears to help her, and after a flurry of activity...
They put up wallpaper, installed flooring and electricity and then filled the place will all of Piper's vintage and thrift items. Now all she has to do is wait for the customers...and eat that donught left for her at the cash register.