Some new designs in the shop. https://jenyarose.bigcartel.com/products


Some new designs in the shop. https://jenyarose.bigcartel.com/products
I just designed a lemur canvas! In the shop now: jenyarose.bigcartel.com/products. Comes in blue or pink background.

Cute pink wreath now available in my shop: jenyarose.bigcartel.com/products

Ah! How cute is this design I came up with this morning! So excited to paint it, but for now here is the design, so you can see it. I'll also have a download option at my online shop for people that like to do counted cross stitch and just use the digital download. :)

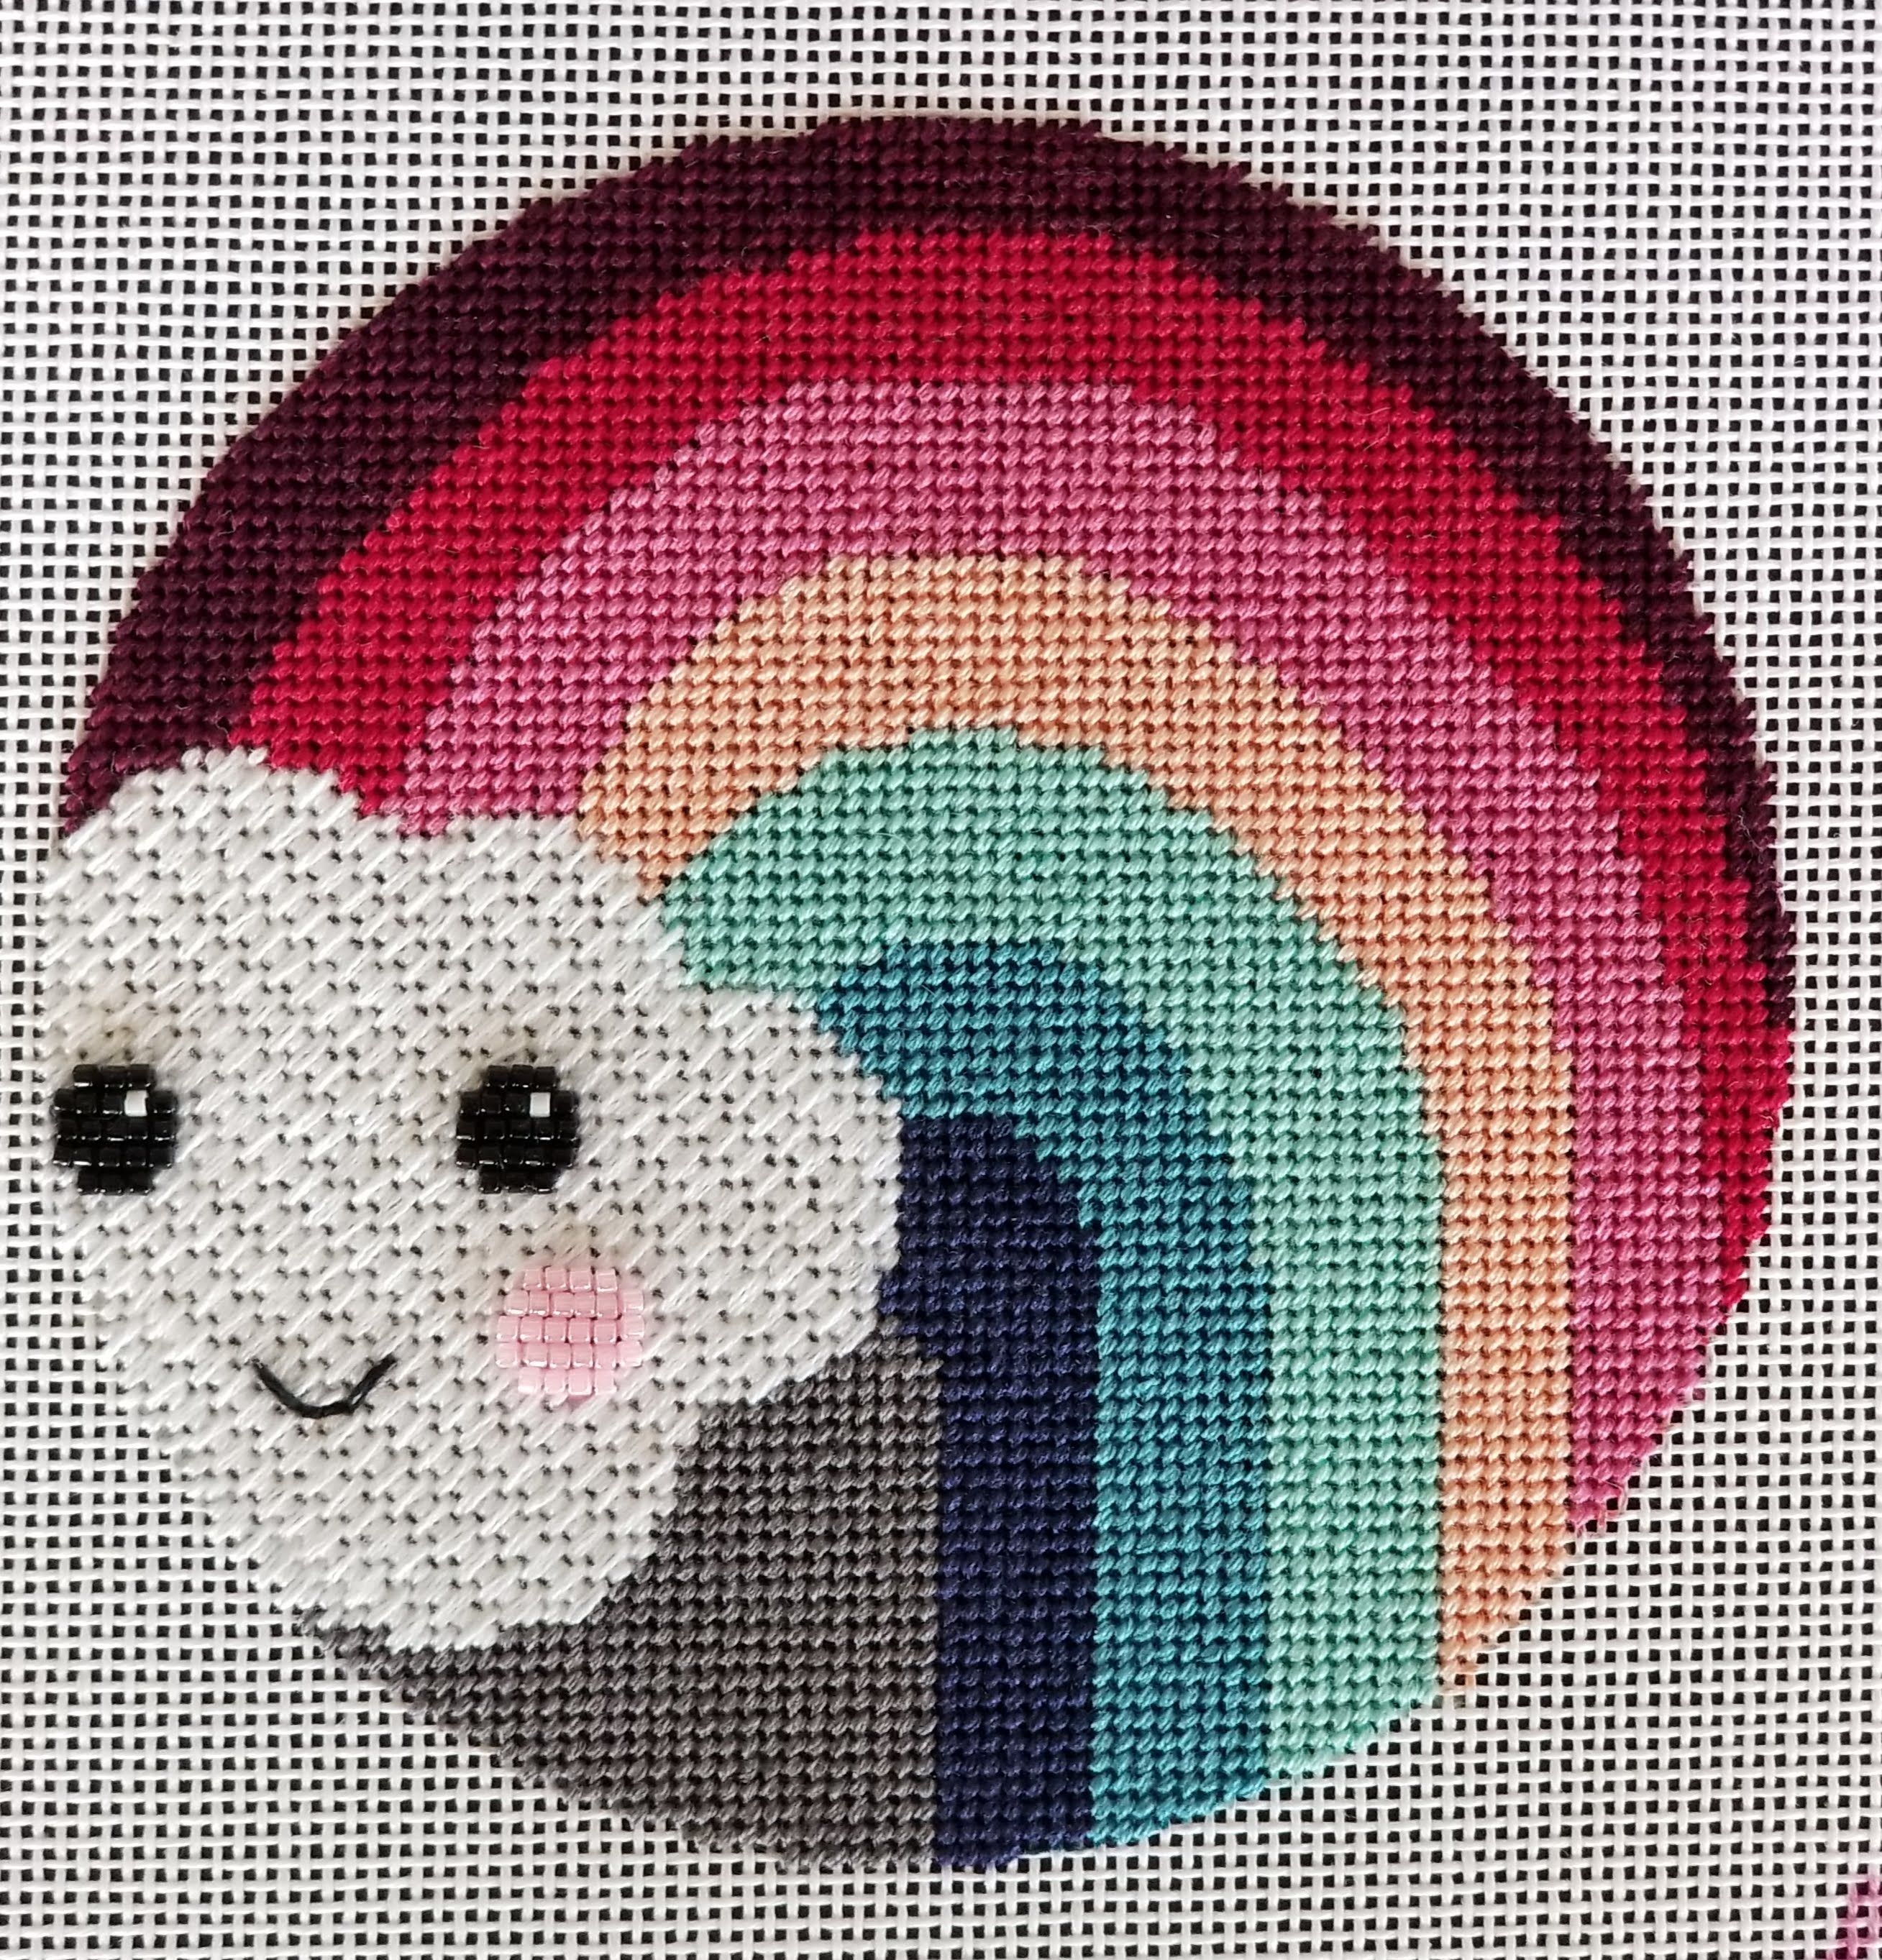
Just designed this hand-painted canvas and it's in the online shop.
It can be customized with your college or greek letters and colors. :)


New design! The New Mexico Zia on 13 mesh. 4 inch diameter. Available in my shop: jenyarose.bigcartel.com


This is an ancient symbol of the Zia tribe, whose pueblo is still active here in New Mexico. They call it the sun symbol, but most other people call it the Zia, the Zia Sun, (or the New Mexico flag. Lol.) It has 4 groups of 4 rays. Each group of rays represents something different:
The four directions (north, south, east, west)
The four seasons of the year (spring, summer, fall, winter)
The four periods of the day (morning, noon, evening, night)
And the four steps of life (childhood, youth, adulthood, old age)
The circle at the center ties them together to represent love and life.